Fuel Level Sensor
SAFETY FIRST: Protective gloves and eyewear are recommended at this point.
Removal
Drain the fuel from the fuel tank and remove the tank. See the Fuel Tank topic for more information.
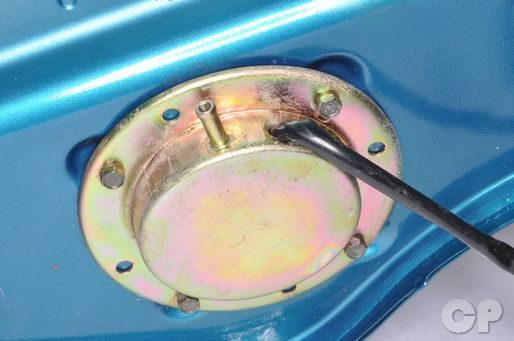


Remove the four fuel level sensor cover bolts with an 8 mm socket.
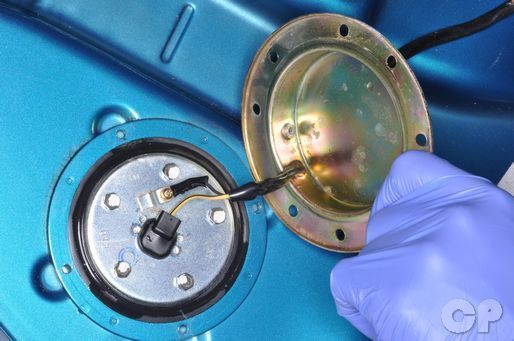


Remove the five fuel sensor mounting bolts with a 8 mm socket. Remove the fuel level sensor from the bottom of the fuel tank.
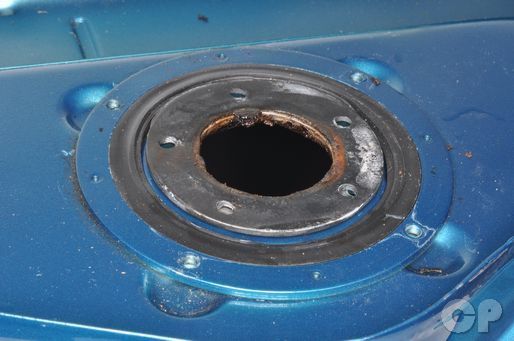


Remove the seals from bottom of the fuel tank.
Inspection


You will need a digital multimeter set to ohms of resistance (Ω) to check the fuel level sensor. Measure the resistance of the fuel level sensor at different levels to determine if the sensor is working properly.
| Float position | Approximate Resistance (Ω) |
| F (full) | 3 |
| Middle (1/2 tank) | 32.5 |
| R (Reserve) | 61.2 |
| Bottom (empty) | 110 |
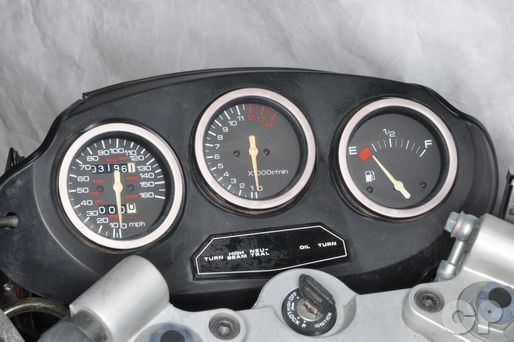
To test the fuel level gauge disconnect the fuel level sensor connector and jump a wire between the black/white and yellow/black wire terminals. When the ignition switch is turned on the fuel gauge should show a full tank.
To replace the fuel gauge see the Instrument Panel topic for more information.
Installation
Install the fuel sensor rubber seals into the bottom of the fuel tank.
Install the fuel level sensor into the fuel tank. Thread in the five fuel level sensor mounting bolts. Tighten the bolts in a crisscross manner. Torque the bolts to specification with an 8 mm socket.
(Fuel Level Sensor Bolt Torque: 3 N-m or 2.0 lb-ft)
Copyright - Cyclepedia Press LLC

Note: If you are viewing this document offline be sure to visit the latest version online at http://www.cyclepedia.com before attempting any repairs. Updates are made without notice.